Repair Scratch Wood Furniture: How to Repair Scratched Wood

You notice it in the wrong moment. The plates are set, the chairs are in place, and sunlight catches a line across the tabletop that wasn’t there before. On a solid-wood piece, a scratch feels personal because good furniture isn’t just another household item. It holds holidays, homework, late coffee, and years of daily use.
That’s also why the right response matters. A quick cover-up might be fine for a disposable side table, but it’s not the same decision when you’re caring for a hand-finished dining table, a custom bedroom piece, or Amish-made furniture built to stay in the family. The repair should protect both appearance and investment value.
More homeowners are choosing repair over replacement. The global wood furniture repair service market reached $2.5 billion in 2025 and is projected to reach about $4 billion by 2033, reflecting stronger demand for extending the life of quality pieces and a preference for sustainable repair practices over replacement, according to wood furniture repair market data. That trend makes sense to anyone who owns well-made furniture. Good wood deserves careful stewardship.
If you want to repair scratch wood furniture properly, start with restraint. Don’t grab sandpaper first. Don’t flood the spot with oil because a social post made it look easy. The best repair begins with knowing what the scratch damaged, the finish, the stain, or the wood itself. For broader upkeep habits that help prevent this situation in the first place, Vinson’s guide on how to care for wood furniture is a useful companion.
A Guide to Cherishing Your Wood Furniture
A quality scratch repair starts with a different mindset than most quick-fix advice online. The goal is more than making the mark less obvious by tonight. The goal is to preserve the original finish, the color depth, and the honest character of the piece.
That matters more with solid wood furniture Ohio homeowners often buy as a long-term investment. A well-built dining table or dresser can be repaired many times over its life, but only if each repair respects the material. Heavy sanding, mismatched fillers, and oily home remedies can solve one visual problem while creating another that’s harder to reverse.
Furniture with value deserves a measured hand
When I look at a scratched table, I don’t ask only, “How do we hide this?” I ask a better question. “What’s the least invasive method that restores the surface without lowering the piece’s value?”
That approach usually comes down to three principles:
- Protect the original finish: If the scratch lives only in the topcoat, keep the repair in the topcoat.
- Match before you fill: Color comes after diagnosis, not before.
- Respect the wood species and sheen: Oak, maple, walnut, matte lacquer, and hand-rubbed finishes don’t accept the same treatment.
Practical rule: The more expensive and custom the piece, the less you should improvise.
For investment homeowners shopping at a Furniture store Columbus Ohio area families trust, this is the same thinking that guides a purchase in the first place. Better materials deserve better care. A solid top, a hand-applied finish, and durable joinery aren’t interchangeable with mass-market construction, and they shouldn’t be repaired as if they are.
Minor wear isn’t failure
A light scuff from daily use doesn’t mean the furniture is ruined. In many homes, it means the piece is doing exactly what it was built to do. Good furniture should be used. The point is to address damage early, while the repair can stay small, localized, and controlled.
If the piece has sentimental weight, move slowly. Family heirlooms and custom dining sets carry value beyond price. They also tend to punish rushed repairs.
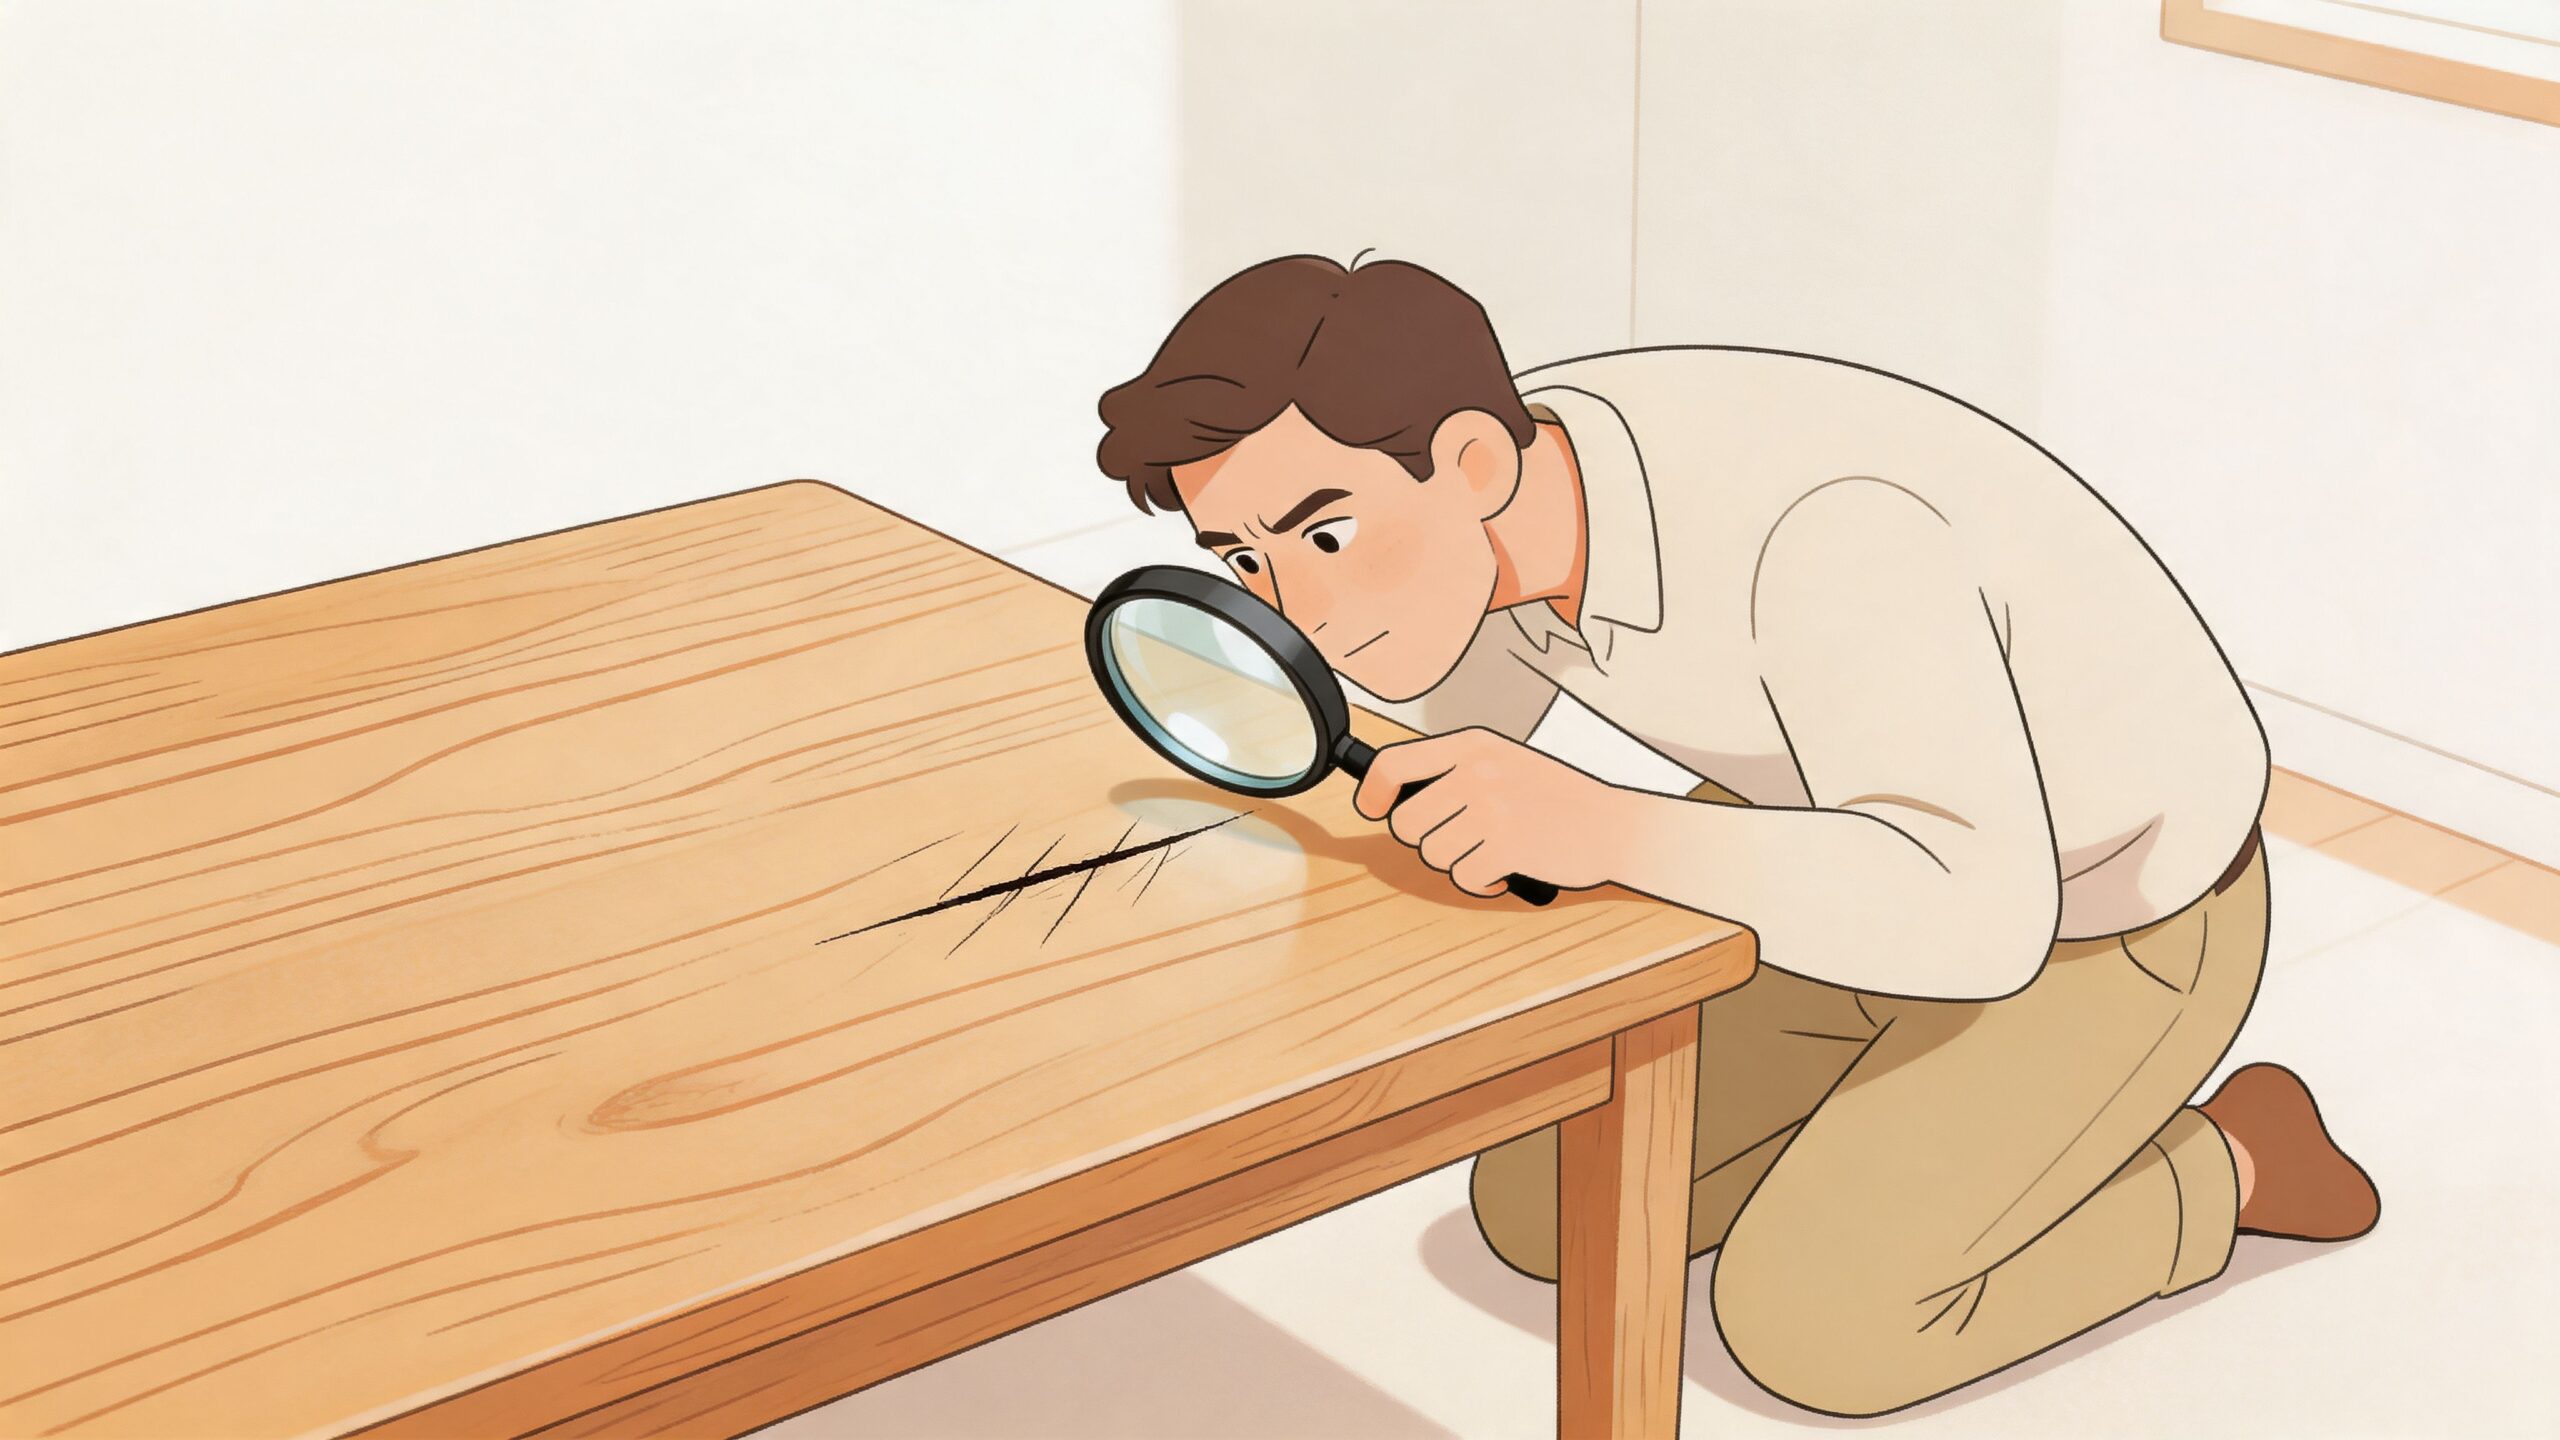
Assessing the Scratch Before You Begin
Before you try any product, test the damage itself. This is a step often skipped, and it’s the one that prevents expensive mistakes.
Homeowners often underestimate how much assessment affects cost. In the United States, the average furniture repair cost ranges from $920 to $2,640, while simple cosmetic scratch repairs can be $50 to $200 and refinishing projects can reach $1,200, based on U.S. furniture repair and reupholstery industry data. Correct diagnosis helps you avoid turning a cosmetic issue into a refinishing job.
Use the fingernail test
Run a clean fingernail lightly across the mark.
If your nail doesn’t catch, you’re usually looking at a surface scuff or a disturbance in wax or topcoat. That often responds to a gentle, low-risk remedy.
If your nail catches slightly, the scratch may have broken through the finish and into the stain layer. These are the tricky middle-ground repairs. They often need color work, but not always filler.
If your nail catches clearly, or you can see raw wood, you’re dealing with a deeper scratch or gouge. That calls for a proper restoration method, not a wipe-on shortcut.
Look at color, sheen, and edge profile
A scratch tells you a lot before you ever touch it.
| What you see | What it usually means | What to avoid |
|---|---|---|
| White or hazy line | Finish disturbed, wood may be intact | Aggressive sanding |
| Dark line with no wood exposed | Compression or finish break | Over-filling |
| Pale raw line | Wood fibers exposed | Oil-only quick fixes |
| Rough-edged gouge | Material loss | Touch-up marker as the only repair |
Good lighting helps. So does cleaning the area first with a wood-safe method. Dirt settles into scratches and makes them look deeper than they are. If the surface has built-up polish, kitchen residue, or dust, clean before deciding on a repair path. A gentle prep routine matters, and Vinson’s guide on how to clean wood furniture is a smart place to start.
If you can’t tell whether the damage is in the finish or the wood, stop there. Uncertainty is a reason to slow down, not speed up.
Know the furniture you’re working on
A casual repair may be perfectly reasonable on a secondary piece. It’s a different conversation on Custom dining sets, bedroom furniture with a hand-applied finish, or older Amish-made furniture with visible grain variation. Those pieces often need color-matched repair, not general concealment.
The more visible the location, tabletop, dresser top, chair arm, or cabinet door front, the more important this assessment becomes.
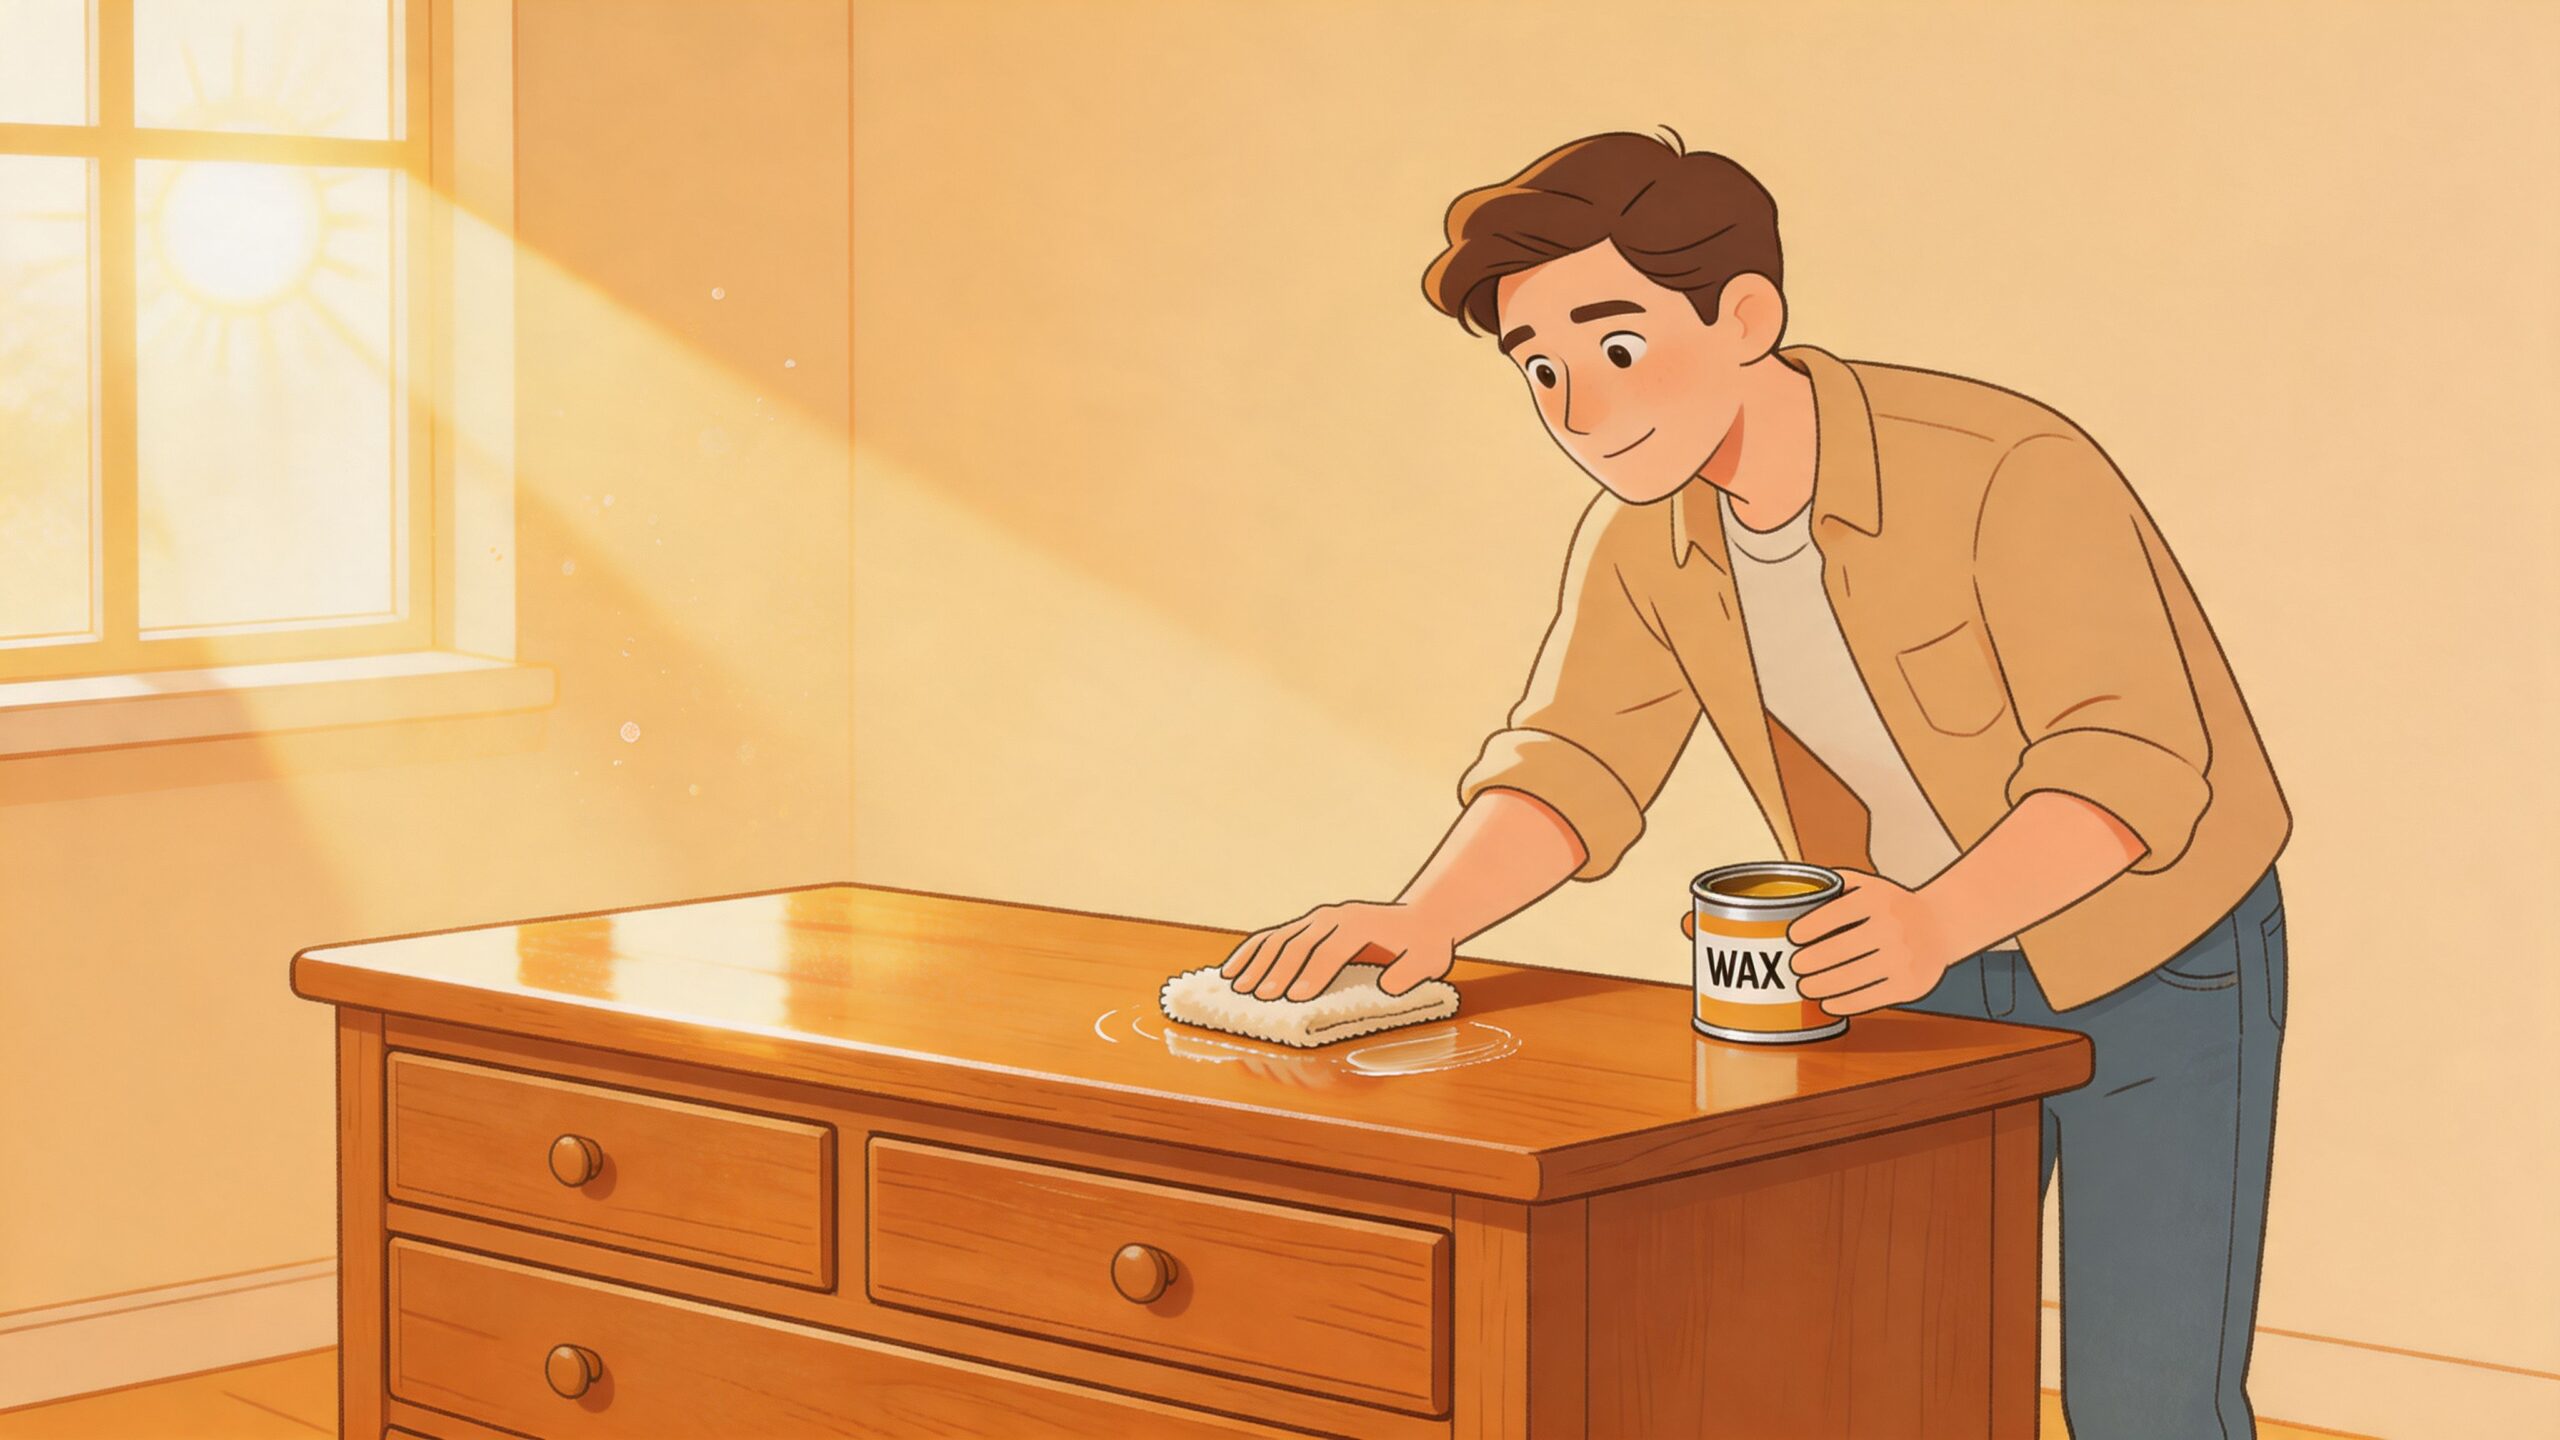
Simple Remedies for Light Surface Scuffs
When the scratch is shallow, keep the remedy equally shallow. That’s where many simple fixes earn their place. They don’t rebuild missing wood, and they don’t replace a proper topcoat repair, but they can soften the look of minor scuffs on everyday furniture.
What can work for very light marks
These are the least invasive options I’d consider first:
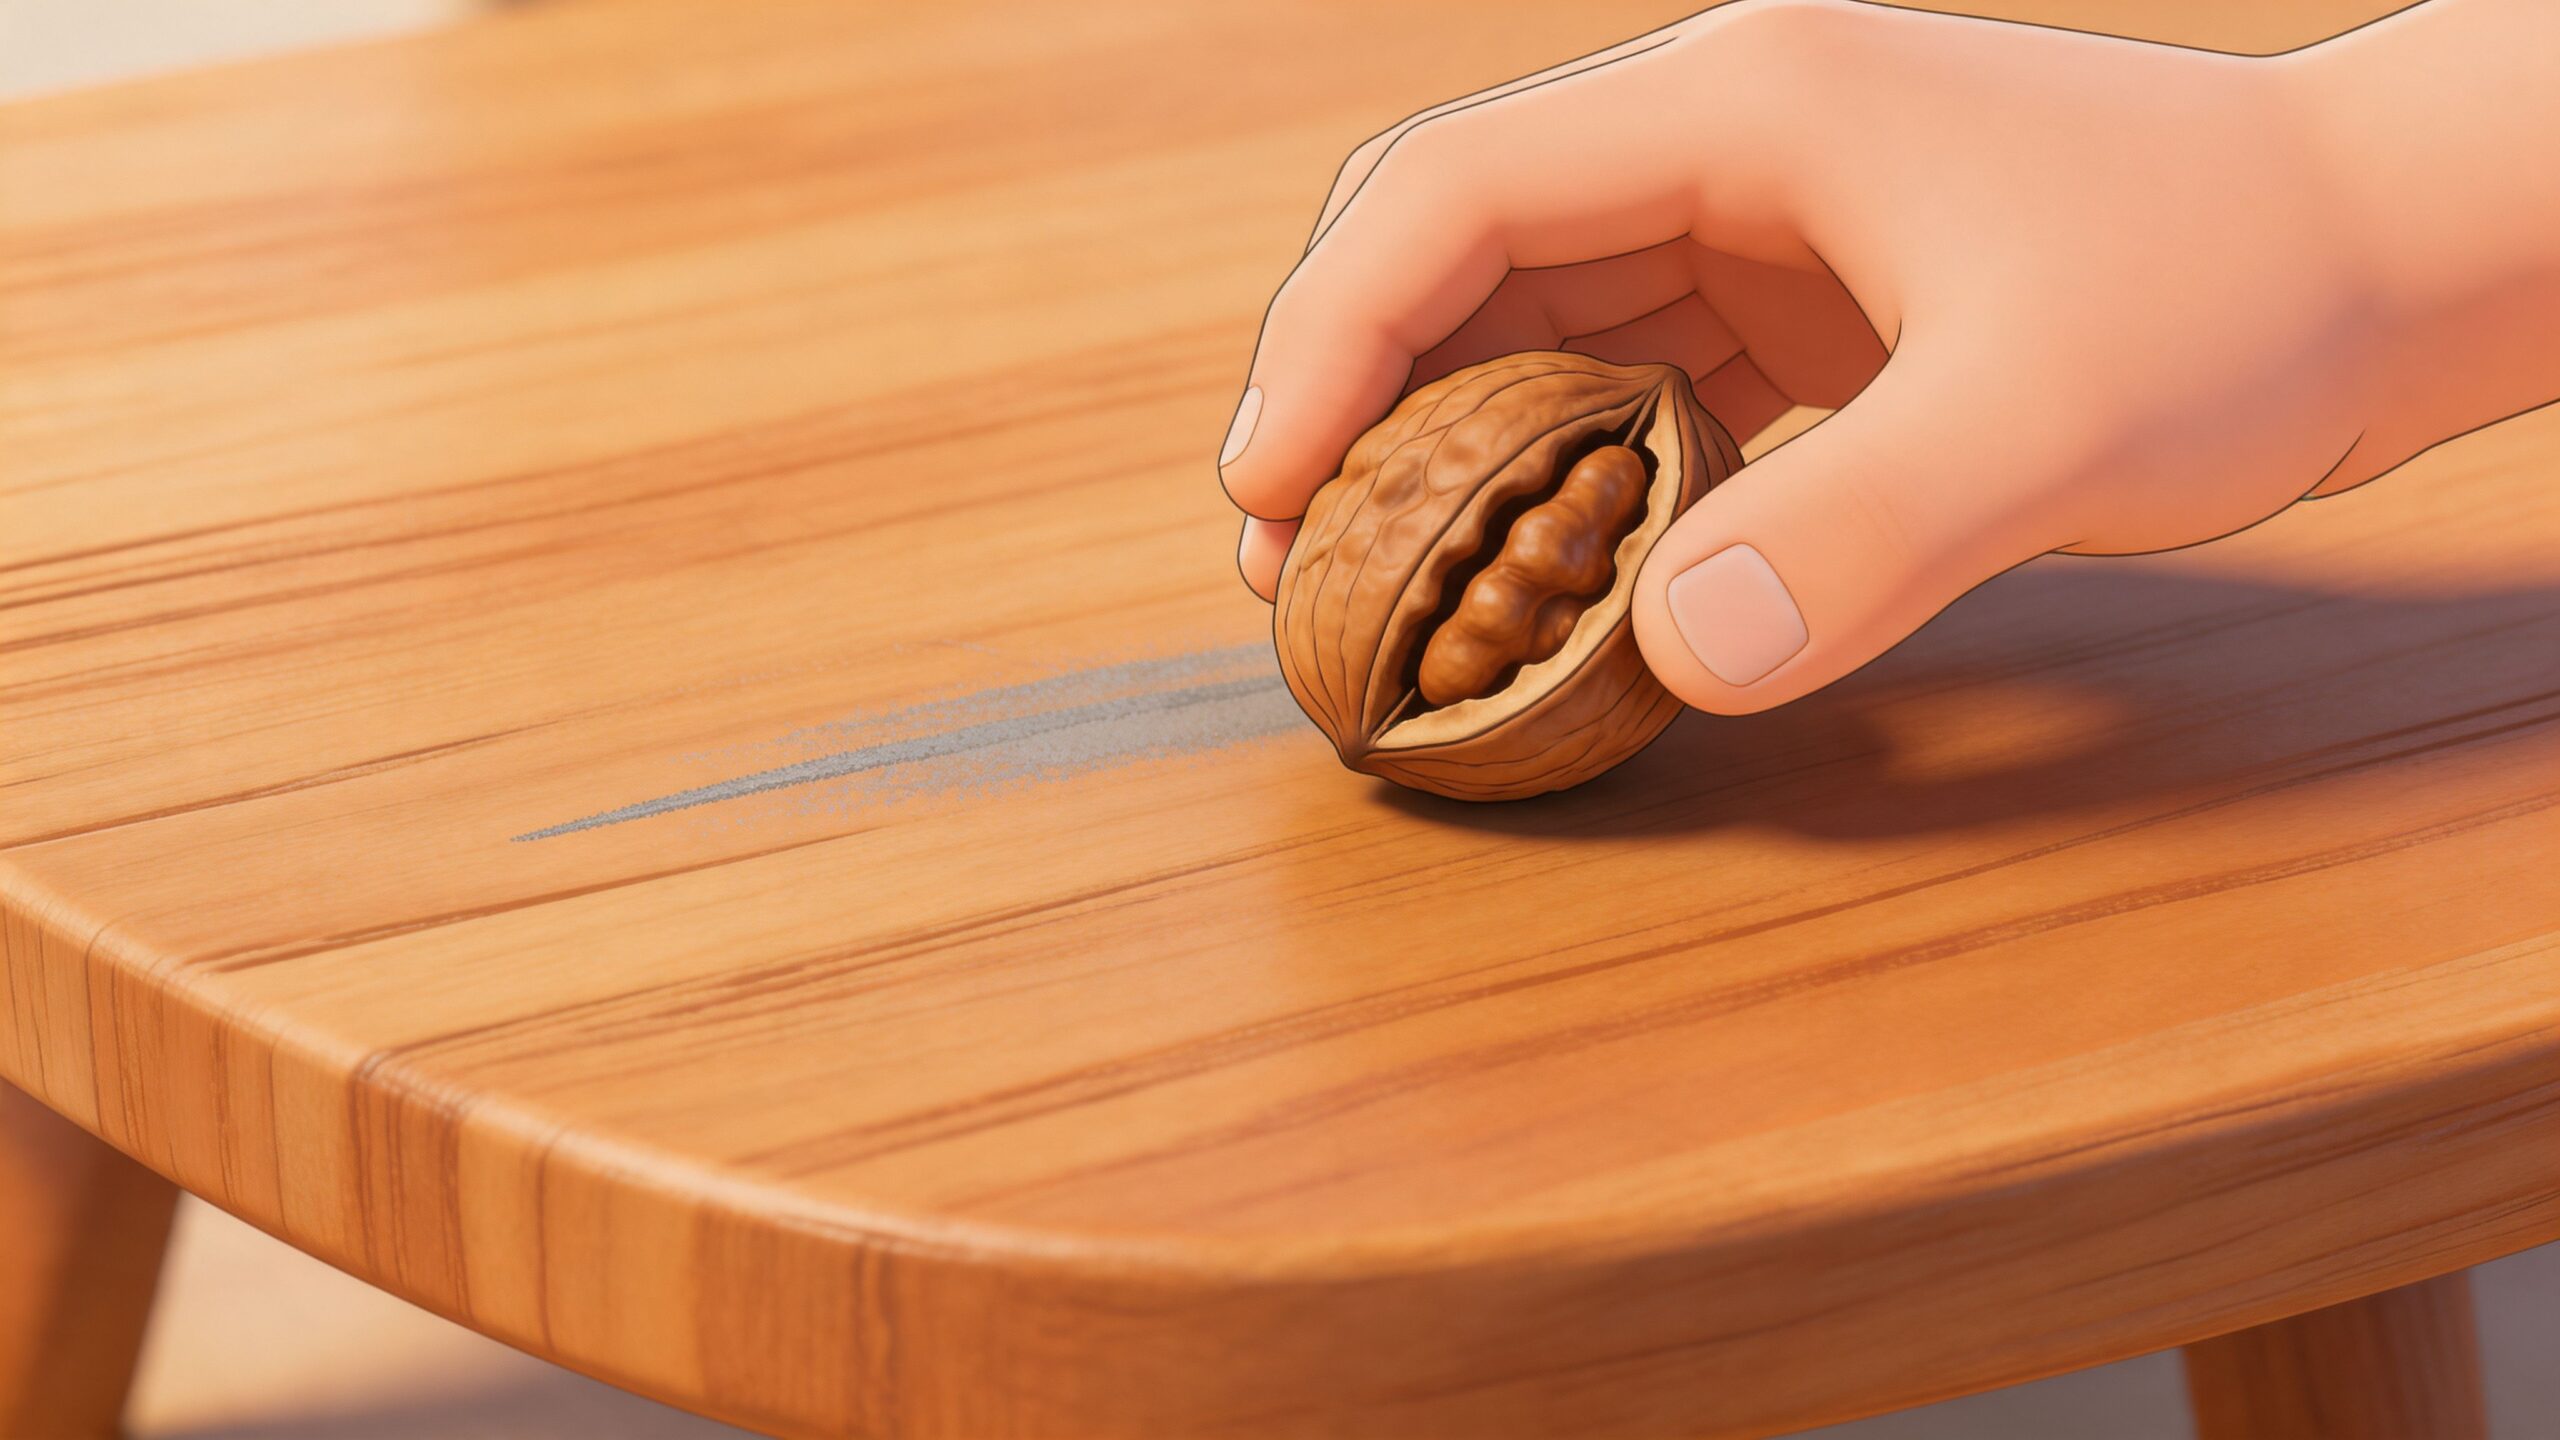
- Walnut meat: Rubbing the nut over a faint scratch can darken a dry-looking line on some older finishes.
- Wax pencils or fill sticks: These help disguise shallow marks where the finish is intact but visually interrupted.
- Touch-up markers: Useful on small edge wear or narrow scuffs if the color match is close.
- Buffing cloth and furniture polish made for existing finishes: Sometimes a mark looks worse than it is and improves with careful cleaning and light polishing.
These methods work by camouflaging, not rebuilding. That distinction matters. If you expect a surface remedy to handle exposed wood, you’ll usually end up layering too much product onto the area and making it more obvious.
Where these quick fixes usually fail
On premium furniture, the finish is often more complex than the advice floating around online. Hand-finished and catalyzed surfaces don’t always respond well to kitchen remedies. Oils can deepen color unevenly. Wax can collect in pores and telegraph the scratch under angled light. Markers can flatten the natural variation in the grain and leave the repair looking drawn on.
That’s especially true on newer solid wood furniture Ohio homeowners buy for open dining and living spaces, where daylight exposes every mismatch. A repair that looks passable at night can stand out badly the next morning.
Here’s a practical approach:
| Remedy | Best use | Poor use |
|---|---|---|
| Walnut | Faint, dry-looking scuff | Deep scratch with exposed wood |
| Touch-up marker | Small edge wear | Broad scratch across tabletop |
| Wax pencil | Light concealment | Gouge that needs structure |
| Polish/restorer | Dull finish disturbance | Missing finish or torn fibers |
Surface remedies are for reducing contrast. They are not a substitute for structural repair.
Use restraint on heirloom-quality pieces
If the furniture is a family table, a custom order piece, or a bedroom set with a low-luster finish, test any remedy in a hidden spot first. The risk isn’t only a poor match. It’s changing the sheen around the scratch so the eye notices the repair before it notices the original damage.
That’s why I treat these methods as appropriate for light surface scuffs only. They can be useful. They just aren’t universal. On a good piece, the right small repair is often “less product, more patience.”
A Craftsman’s Method for Deeper Wood Scratches
When a scratch catches your fingernail and shows raw wood, you’ve moved past concealment. At that point, the repair needs structure, color, and protection. Skip any one of those and the fix usually announces itself.
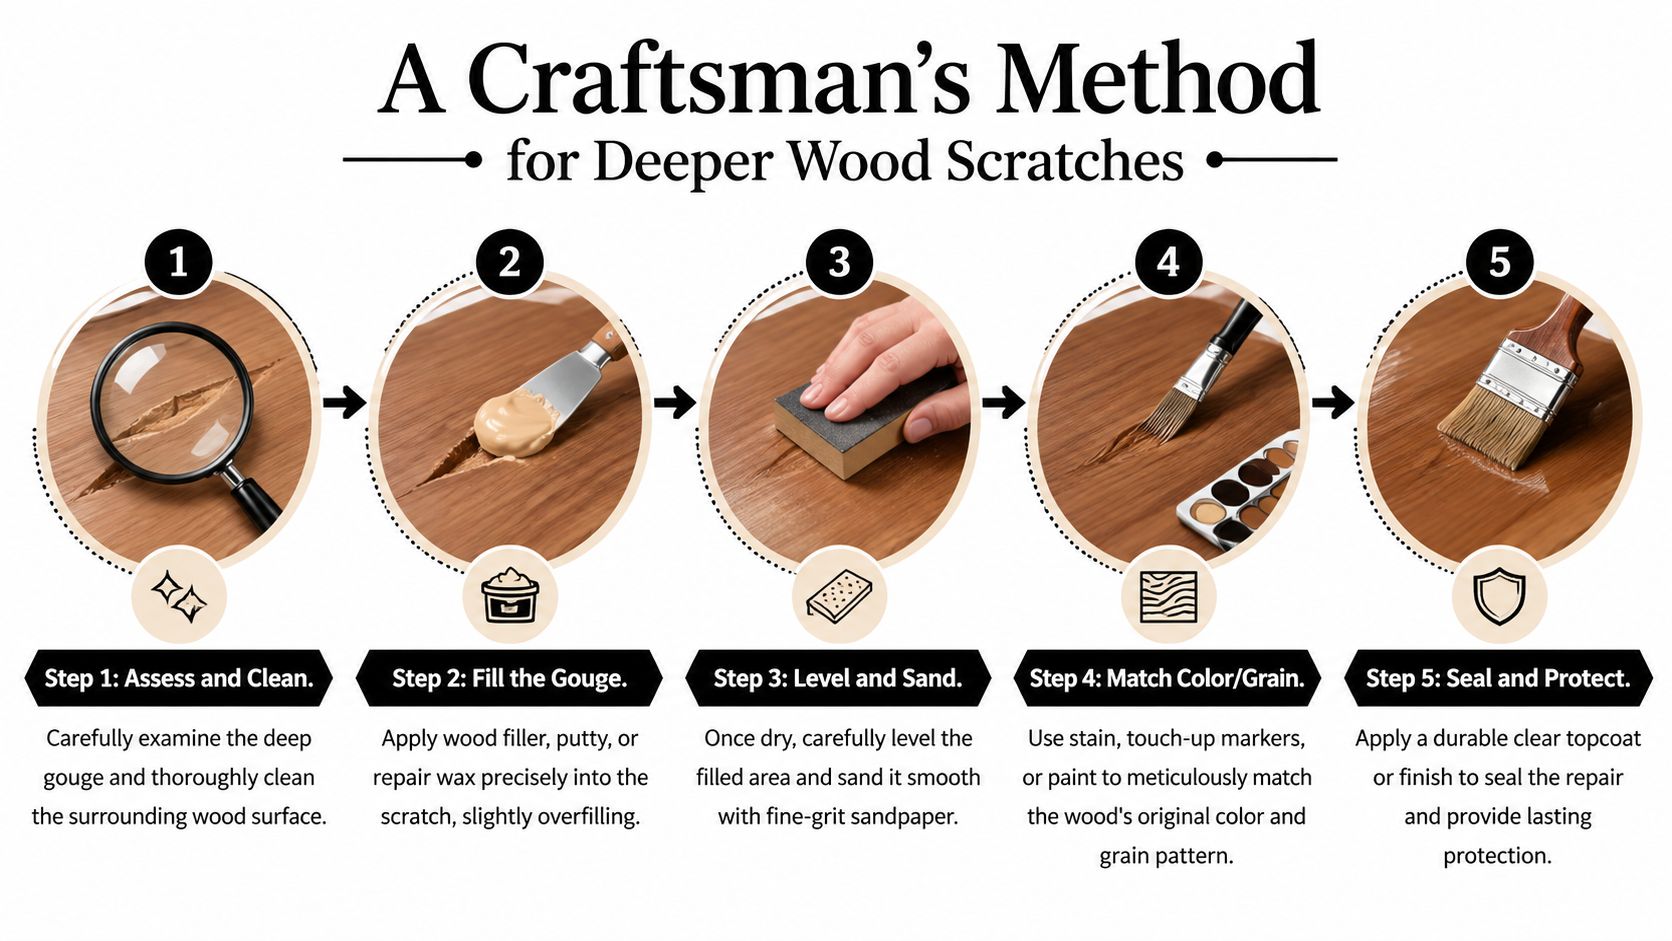
For deep scratches, restorers recommend stainable wood filler. A common DIY mistake is using non-stainable filler, which fails to match color in 75% of cases, while professional-grade products can achieve a 90% to 95% invisible repair on woods like oak or mahogany when applied correctly, according to this deep scratch restoration guide.
Step one matters more than people think
Start by confirming the repair area is clean and stable. Use mineral spirits to remove residue, then lightly smooth the broken edges with fine sandpaper in the 180 to 220 grit range. The point isn’t to sand away the problem. It’s to flatten lifted finish and frayed fibers so the filler sits cleanly.
Over-sanding is one of the fastest ways to widen the repair. On a hand-finished top, that can create a pale halo around the original scratch that takes more color work to disguise than the damage itself.
Fill only what is missing
Choose a stainable filler or a professional repair stick suited to the depth of the damage. Mohawk Fil-Stik is one familiar product line in restoration work, but the broader rule is more important than the brand. The filler has to accept color.
Apply it with a small putty knife and slightly overfill the groove. That accounts for normal settling as it dries. Then remove excess while it’s still workable so you don’t create more sanding than necessary later.
A deeper scratch on a dining table usually needs this kind of controlled fill. A marker alone leaves the trough in place, and the light still catches it.
Color matching is where craft shows
Once the filler is dry, level it carefully with fine paper, wipe away dust, and start the color work. This is not one-color territory. Wood grain isn’t one color, and repairs look fake when treated as though it is.
Use stain pens or touch-up colors in layers:
- Start with the lighter tone.
- Add darker lines where the grain naturally runs.
- Blend in the direction of the grain.
- Stop often and view from standing height, not inches away.
Oak, mahogany, maple, and walnut each reflect color differently. A perfect match from six inches can look too dark from across the room. That’s why good repairs are judged at normal viewing distance first.
Workshop advice: Match the surrounding board, not the idea of the wood species. Real furniture always has variation.
The final topcoat isn’t optional
This is the part DIY repairs often miss. After the color work, the repair still needs a compatible protective layer. That might be a clear topcoat, a finish repair product, or another seal appropriate to the original sheen.
If you stop at filler and color, the area often flashes dull, wears prematurely, or absorbs grime faster than the surrounding finish. On a tabletop or dresser top, that weakness shows up quickly.
For Central Ohio homeowners who don’t want to guess at filler, color, and finish compatibility, furniture repair services are one practical option alongside independent restoration shops. That’s especially true for visible damage on dining surfaces, bed rails, and case goods with custom finishes.
When this method is worth doing
Use this repair path when all three of these are true:
- The piece has lasting value: sentimental, financial, or both.
- The scratch exposes wood: not just finish.
- You can work slowly and precisely: without rushing color and sheen matching.
That’s the standard I’d apply to a custom table, a quality bedroom chest, or a solid-wood piece meant to stay in the family. A careful deep-scratch repair doesn’t just improve appearance. It preserves the integrity of the furniture itself.
Protecting Your Furniture From Future Damage
The best scratch repair is the one you never need to make. Once a piece has been restored, daily habits decide whether it stays quiet and beautiful or heads right back into another cycle of damage.
That’s especially important on dining tables, nightstands, dresser tops, and desks. These are high-contact surfaces. They collect grit, sliding objects, spills, and heat. Even a well-done repair won’t hold up if the piece goes right back to rough use.
Habits that protect solid wood
These practices are simple, but they work:
- Dust with a soft cloth: Dust particles can act like fine abrasives when pushed across a finish.
- Use placemats and coasters: Preventing drag marks is easier than correcting them.
- Lift objects instead of sliding them: Lamps, serving pieces, and decor scratch more often during movement than during normal sitting.
- Keep sunlight in check: Strong direct light can change the surrounding finish, which makes old and new repairs stand out.
- Watch indoor moisture: Wood moves with its environment. Stable conditions help finishes and joints stay healthy.
A piece that sees careful, steady maintenance usually ages better than one that gets occasional rescue treatments.
Why sealing and upkeep belong together
A scratch repair isn’t complete when the color looks right. It’s complete when the repaired area is protected at the same level as the surrounding surface.
Professional restorers note that 70% to 80% of DIY scratch repairs on high-traffic surfaces fade, discolor, or fail within 6 to 12 months without a proper topcoat sealer, as discussed in this guide to furniture scratch repair durability. This is why maintenance matters. Protection is not a finishing touch. It’s part of the repair.
A beautiful repair that isn’t sealed is usually temporary.
For ongoing care, build your routine around gentle cleaning and prevention rather than constant product use. Too many polishes, too many oils, and too many improvised spot fixes can leave a once-clean finish cloudy or uneven. If you want a practical maintenance checklist, Vinson’s guide to protecting wood furniture from scratches and stains lays out the basics well.
Stewardship preserves value
Furniture care becomes bigger than repair. A well-kept table retains its finish clarity, its color depth, and the quiet confidence that quality furniture should have in a room. That’s true whether it came from local makers, Canadian workshops, or a custom program built around finish and size choices.
For investment homeowners, prevention isn’t fussy. It’s part of owning furniture that was built to last.
When to Trust a Professional With Your Furniture
A shallow scratch on a side table is one kind of problem. A scratch across the center of a solid-wood dining table that has taken years to mellow in color is another.
Good repair work starts with restraint. On heirloom-quality furniture, the risk is rarely the scratch alone. The bigger risk is lowering the piece’s value with a repair that changes color, sheen, texture, or crisp edge detail. That matters more on solid wood furniture built to stay in a family, hold its place in a room, and, in many cases, retain resale value.
Modern low-sheen finishes add another layer of difficulty. As noted in this wood scratch repair discussion on modern finishes, matte and oiled surfaces tend to show patch repairs quickly. A color match can still fail if the repaired spot reflects light differently than the surrounding finish.
Cases where I’d stop and call for help
Some scratches are still reasonable DIY work. Others deserve a trained hand from the start.
- Deep gouges on visible surfaces: dining tops, dresser tops, desk fronts, and cabinet doors
- Damage on matte, oiled, wire-brushed, or specialty finishes: sheen and texture are hard to blend
- Scratches near carvings, bead details, edge profiles, or joinery: sanding can soften lines that should stay sharp
- Heirlooms, antiques, and high-end solid wood pieces: every repair can affect long-term value
- Wide damaged areas or repeated failed touch-ups: each extra attempt makes color correction harder
I give the same advice to owners of custom dining tables, Amish-made case goods, and older family pieces. Expensive furniture does not need special magic. It needs the right repair, done once.
Why professional help can cost less in the end
A failed home repair often creates a larger restoration job. Wrong filler can shrink or discolor. An off-tone stain can leave a dark halo. Aggressive sanding can cut through surrounding finish and leave a dull patch that reaches far beyond the original scratch.
That is usually the point where a simple correction turns into refinishing a full panel or top.
If you want a second opinion before touching the piece, Vinson offers a furniture service request for repair assessment. That kind of review helps you decide whether the smart move is a light correction, a full restoration, or leaving a minor mark alone.
Sometimes the right answer is not repair at all. If the piece has structural problems, earlier repair damage, or finish failure across a broad area, restoration may exceed its practical value. On a true heirloom, that can still be worth doing. On a lower-grade item, it often is not.
That distinction matters. Disposable furniture is replaced. Well-made solid wood furniture is evaluated, preserved, and repaired with its future value in mind.